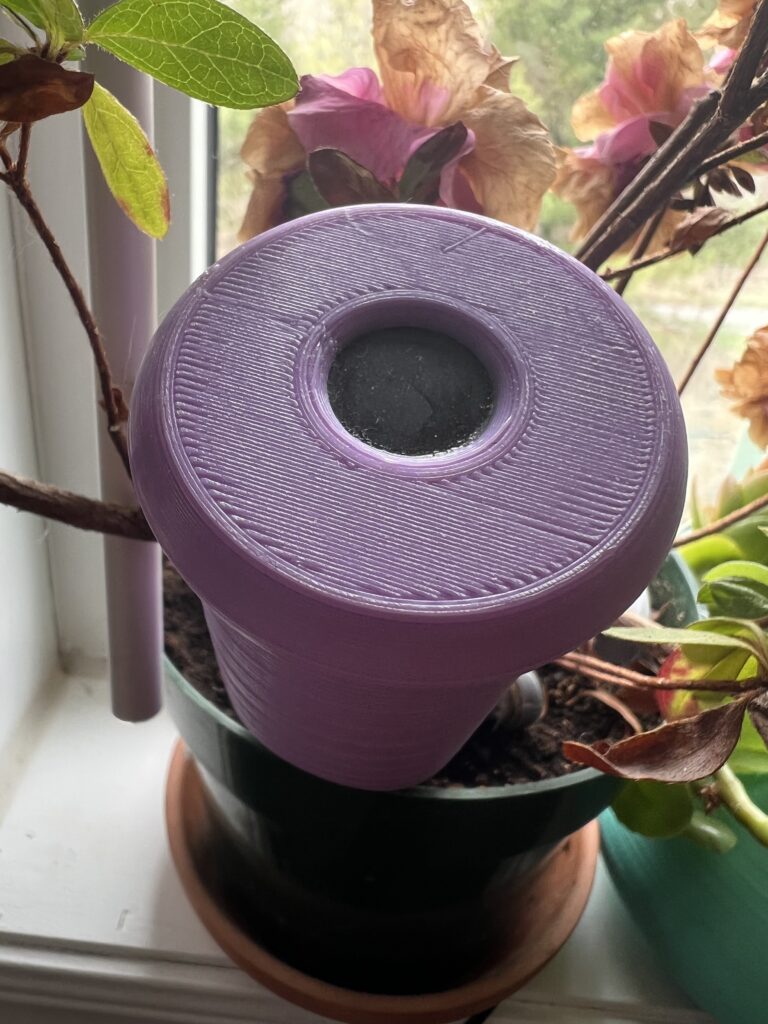
SMARTePROBE – Quick Setup Guide

- Check for connection:
1. Hold pushbutton 1-2 seconds – until you hear a beep.
2. If you do not hear a beep, charge SMARTePROBE overnight using the micro-USB cable.
3. If you receive an email within a minute or so, your SMARTePROBE is already connected to the internet through your router and configured successfully. Proceed to step 4.
4. In about 10 seconds, if you hear a series of 10 beeps, then your SMARTePROBE is not connected to your router. Proceed to step 2.
2. Connect SMARTePROBE to your wifi router:
Option 1
Using router WPS
1. Press the WPS button on your router.
2. Press and hold the SMARTePROBE pushbutton continuously for about 25 seconds. Release pushbutton after you hear 6 rapid beeps.
3. In about 10-15 seconds, you should hear a short beep followed by long beep (“beep-beeeeeep”) indicating a successful connection to your router
Option 2
Using router name and password
1. On your smartphone (or tablet or laptop), go to your Wi-Fi network settings displaying the list of available networks
2. Press and hold the SMARTePROBE pushbutton continuously for about 15 seconds. Release pushbutton after you hear 4 rapid beeps.
3. “SMARTePROBE” will appear in your wifi network list. Select the SMARTePROBE network.
4. In a moment, the SMARTePROBE Configuration portal web page will appear. (If the SMARTePROBE Configuration portal web page does not appear, type 192.168.4.1 in the address bar of your web browser.)
Press the “Configuration” button.
5. Select your router SSID name from the list, or enter your router SSID, and enter your router Password. Press the “Save” button.
6. In about 10-15 seconds, you should hear a short beep followed by long beep (“beep-beeeeeep”) indicating a successful connection to your router.
7. If the connection is unsuccessful, in about 2 minutes you will hear 10 beeps.
If the connection is unsuccessful, repeat the above steps. Ensure that SMARTePROBE is within wifi range of the router (for example, SMARTePROBE is in the same room as the router).
3. Register your SMARTePROBE online:
1. Go to the SMARTePROBE registration page:
i. Either Scan the QR code that came with your SMARTePROBE, with your smartphone,
or
ii. Go to www.SMARTePLANTS.com/SMARTePROBE-registration on your computer or smartphone
2. If you followed option (ii.) above, enter the unique device number which came with your SMARTePROBE. Then enter the email address of the primary SMARTePROBE user, and create a SMARTePROBE password.
3. After pressing “Submit”, you will receive an email with a hyperlink to your SMARTePROBE login page. Press the link.
4. Log in with your email address and password. Enter the low moisture threshold value which will trigger moisture-low alerts. Enter the name/identifier of the plant, and the name(s) and email addresses of the recipient(s). Press “Submit”.
4. Calibrate SMARTePROBE:
-
- Water your plant thoroughly – until the soil is completely saturated. Press SMARTePROBE firmly in the soil of the plant ensuring the stainless steel probes are fully embedded in the soil.
- Perform the required simple probe calibration by pressing and continuously pushing the SMARTePROBE button until you hear 3 rapid beeps. Release the button after hearing the 3 rapid beeps.
SMARTePROBE is now providing accurate plant soil moisture monitoring! Press and hold the button for 1-3 seconds until you hear 1 beep and then releasing. You will receive an email notifying you of the plant’s soil moisture. It should be close to 110% as you have just watered and calibrated SMARTePROBE. Use the link provided in the email to view your personalized SMARTePROBE and plant data online! The SMARTePROBE emails to you will also include a login link if you wish to change the low-moisture threshold, plant name, and/or recipient names and email addresses.
Enjoy the peace of mind that SMARTePLANTS provides, guiding you on optimal care for your plant. It’s like a “Babysitter for your plants”!
